
Chocolate Ripple Easter Cake
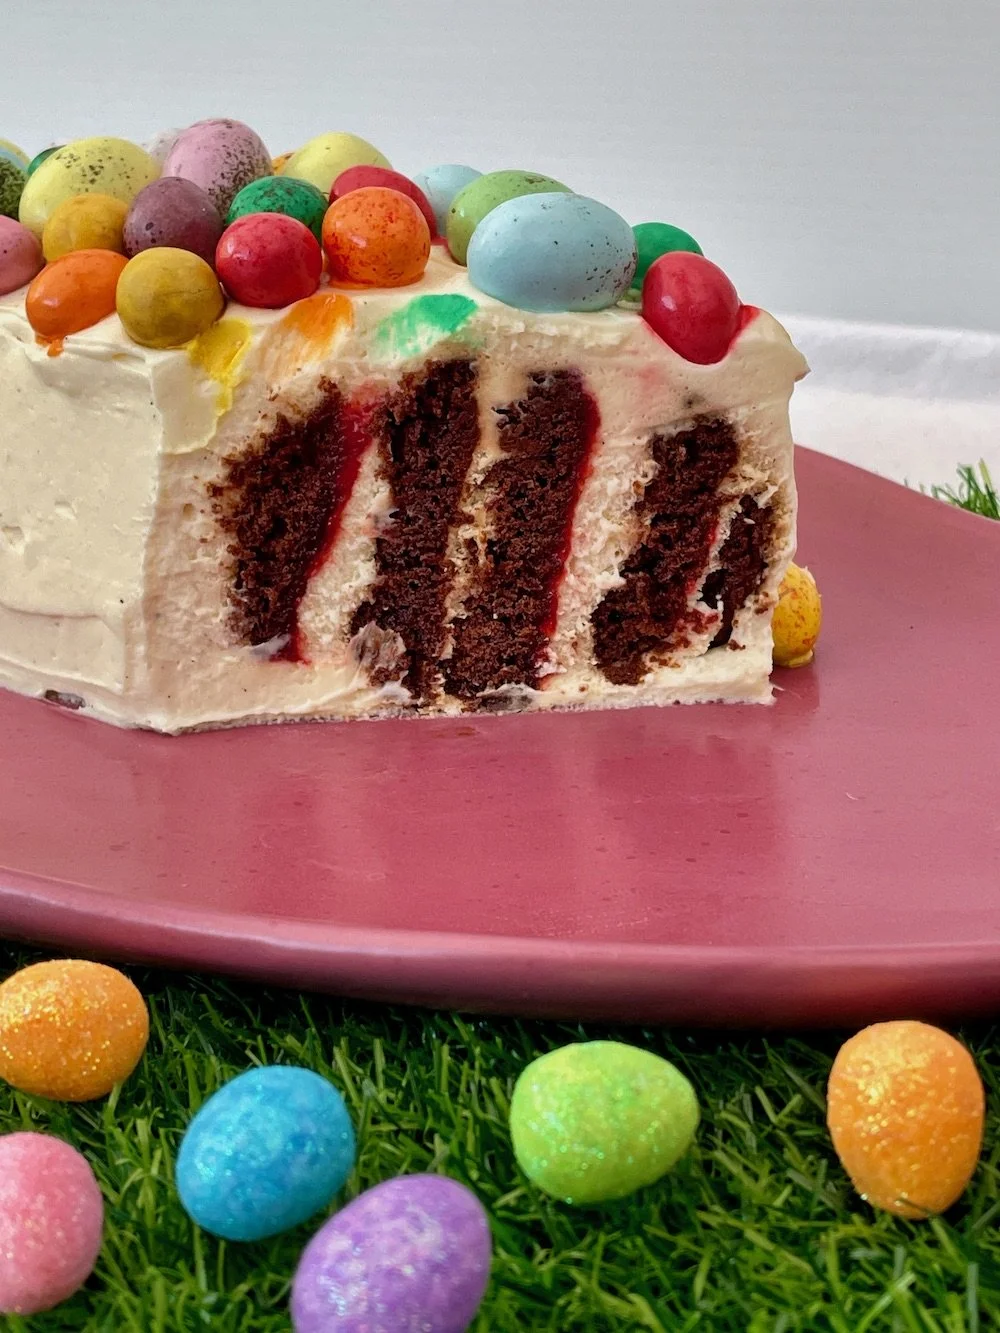
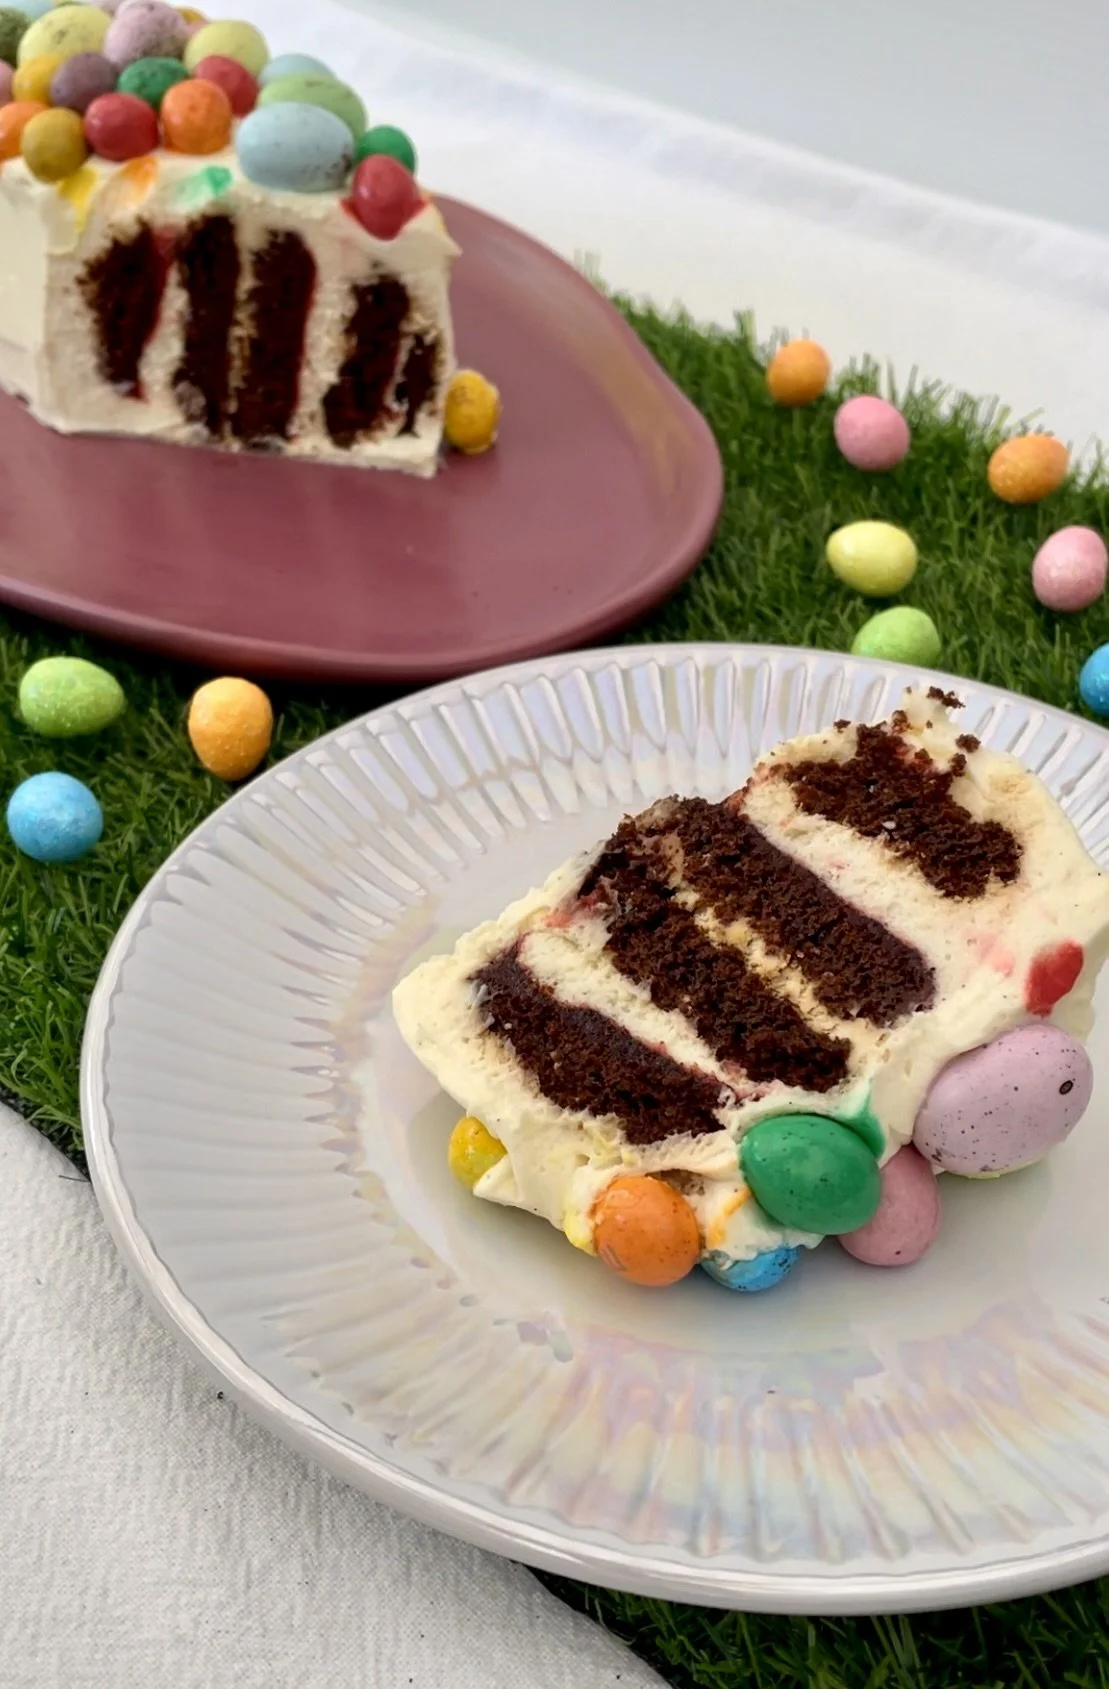
This Chocolate Ripple Easter Cake is the ultimate no-bake Easter dessert. Easy to assemble, beautifully festive and guaranteed to impress with minimal effort. Layers of classic chocolate ripple biscuits are sandwiched with lightly sweetened whipped cream and a hint of fruity jam, then chilled until perfectly soft and cake-like.
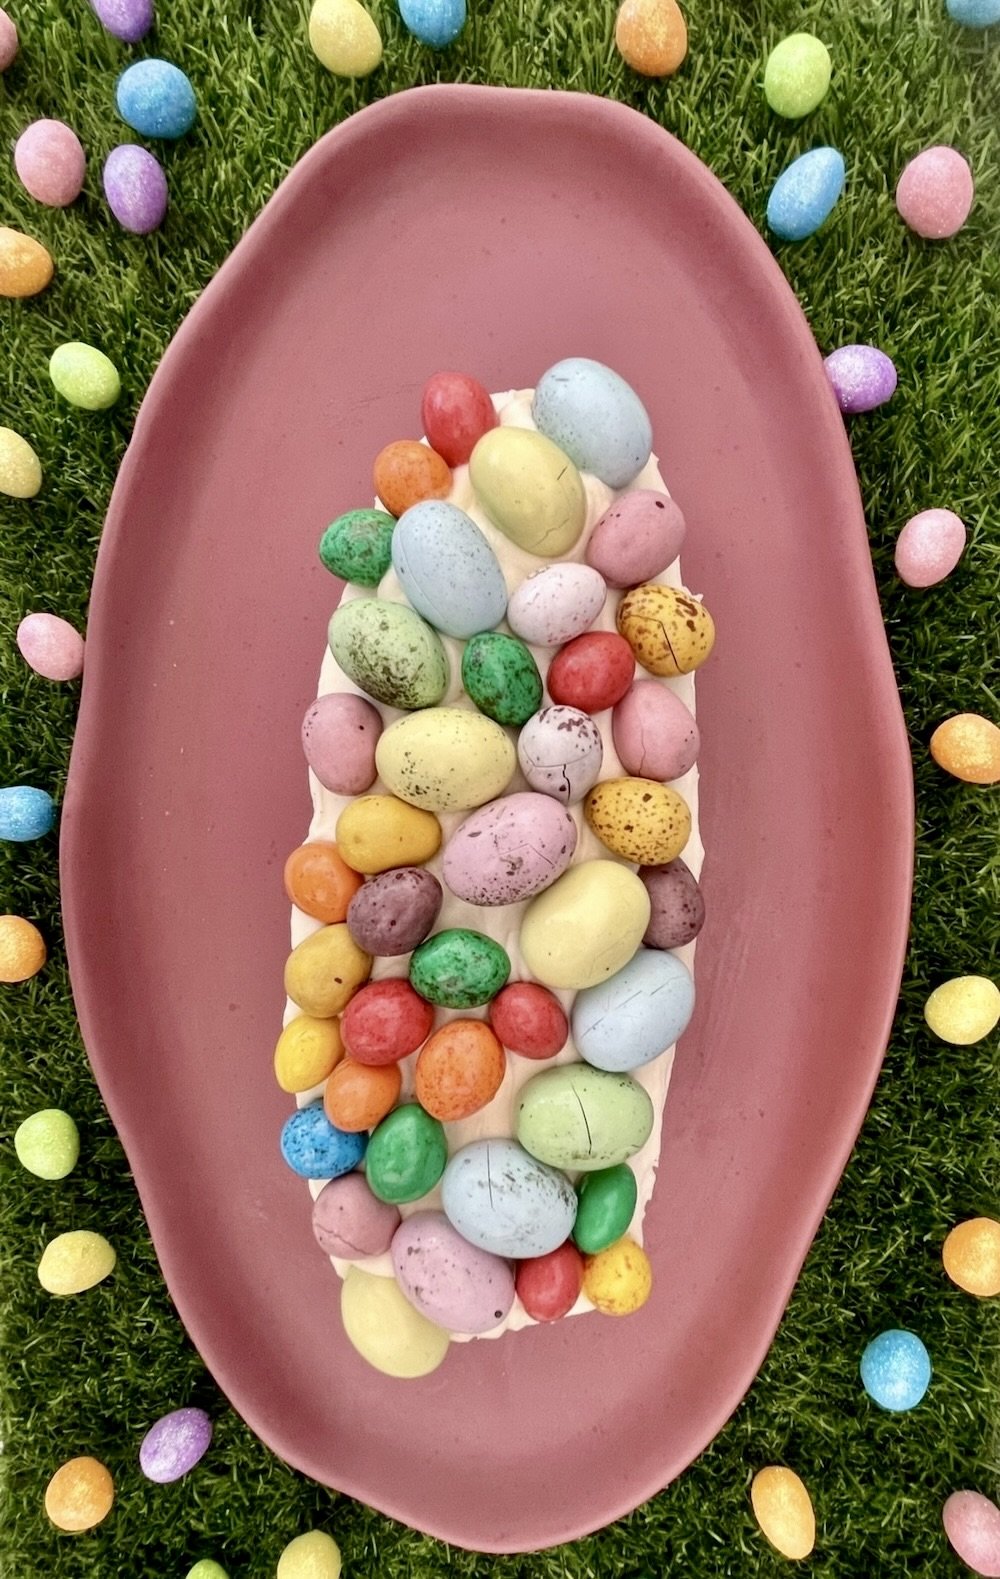
Finished with speckled Easter eggs and extra cream, this Easter ripple cake makes a stunning centrepiece for your Easter table. It’s the perfect dessert for Easter entertaining, family gatherings or when you need a quick make-ahead treat that looks bakery-worthy without turning on the oven.
If you’re searching for an easy Easter dessert recipe, no-bake chocolate cake or a make-ahead Easter cake, this Chocolate Ripple Cake ticks all the boxes. It’s rich, creamy, chocolatey and irresistibly festive. Perfect for kids and adults alike.


Chocolate Ripple Easter Cake
Ingredients
- 1 packets Arnott's Chocolate Ripple Biscuits
- 600ml thickened cream
- ¼ cup icing mixture
- 1 teaspoon vanilla
- Barkers Strawberry/Raspberry Jam
- Or Bakers Jam from Spotlight
- Speckled eggs to decorate
Instructions
- Place the cream, icing mixture and vanilla in a large bowl. Beat with electric beaters/stand mixer until stiff peaks have formed.
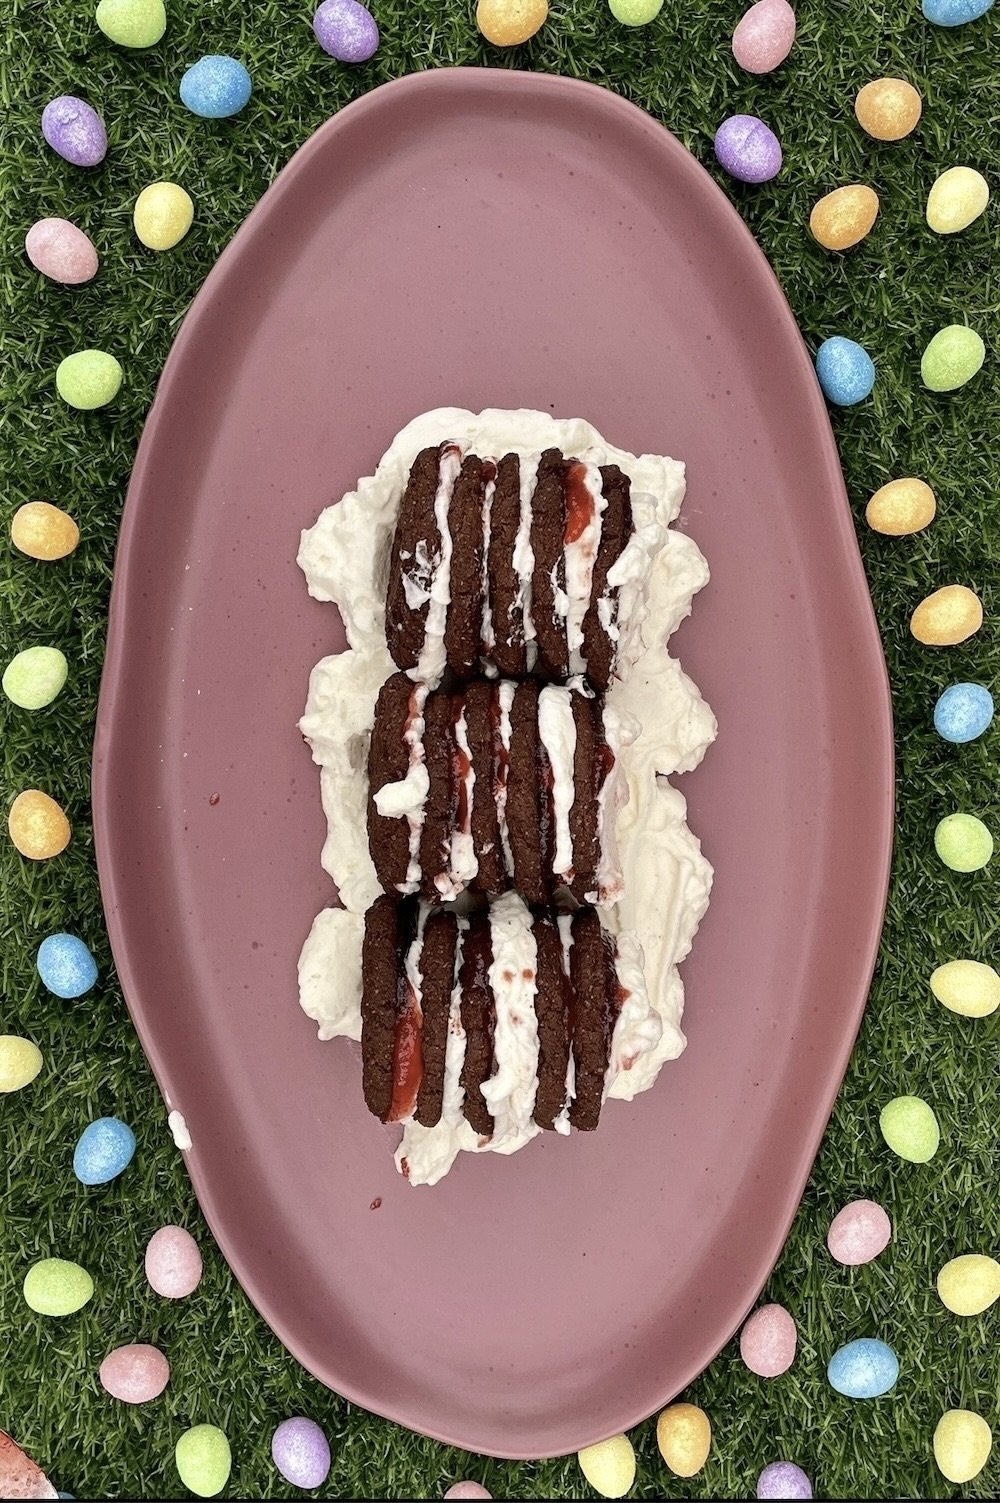
- Spread some of the cream mixture along the base of your platter. This will form the base for the biscuit stacks.
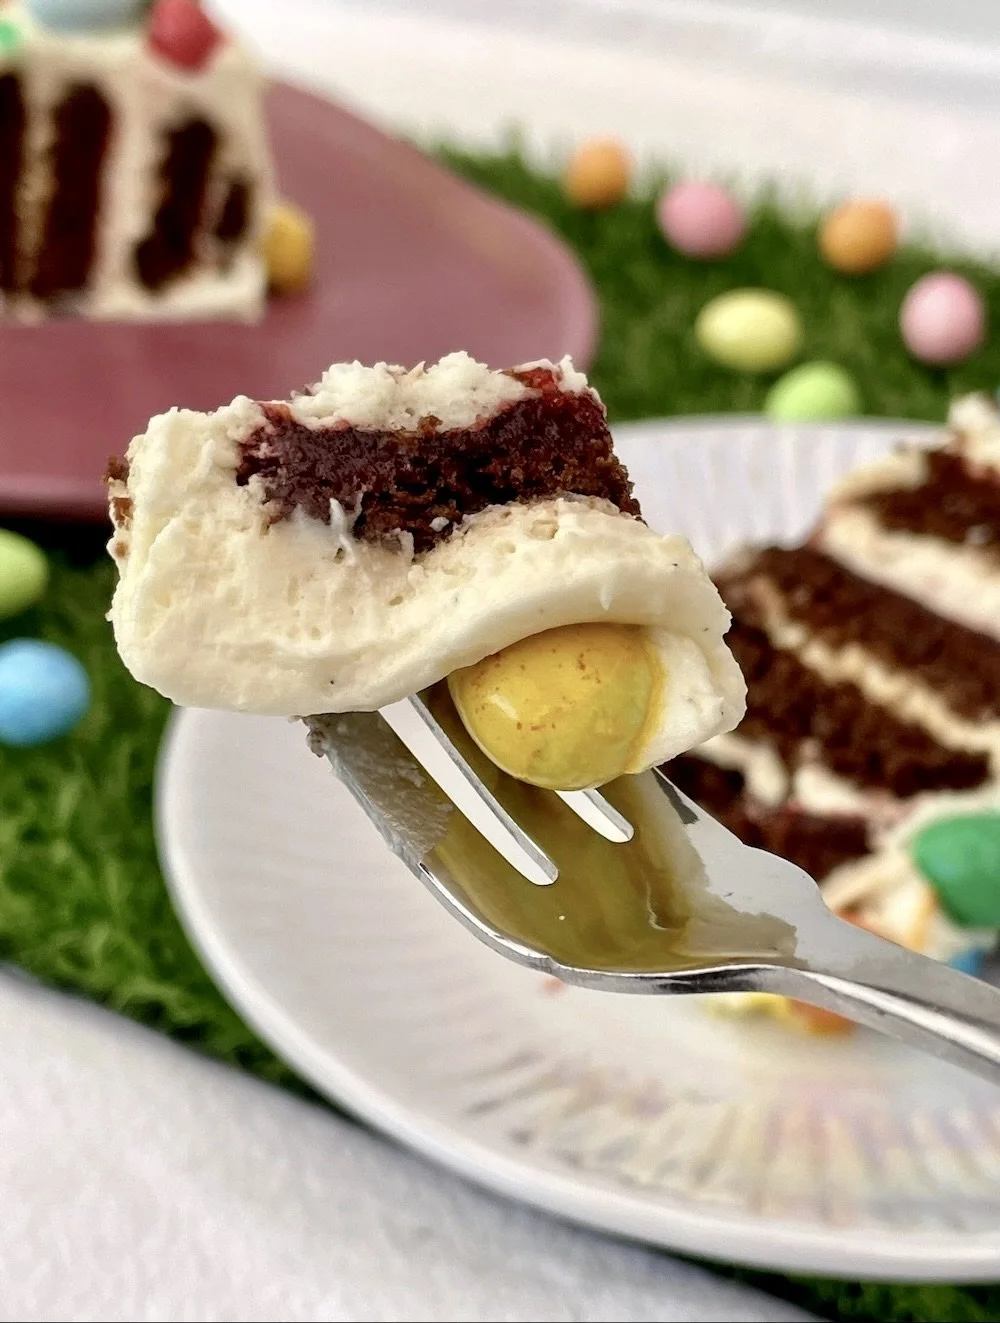
- Spread jam over the flat side of 1 biscuit, followed by some cream and sandwich together with another biscuit.
- Set the sandwiched biscuits standing up in the cream and continue until you have 5 biscuits sandwiched together. Continue down the platter with more biscuits creating another 2-3 rows.
- Carefully spread some of the remaining cream over the biscuit stacks, covering completely and smooth over. Make sure you leave enough cream leftover for the next day when you are going to decorate the cake.
- Place in the fridge to set overnight (or a minimum of 5-6 hours), this will allow the biscuits to soften. (You can lightly cover with glad wrap if you wish)
- The following day: Remove the cake from the fridge and cover with remaining cream creating a smooth thick covering. Decorate with Easter eggs as desired.