
Peppermint Chocolate Weet-Bix Slice
If you grew up loving classic Weet-Bix slice, this minty version is going to be your new favourite! 💚
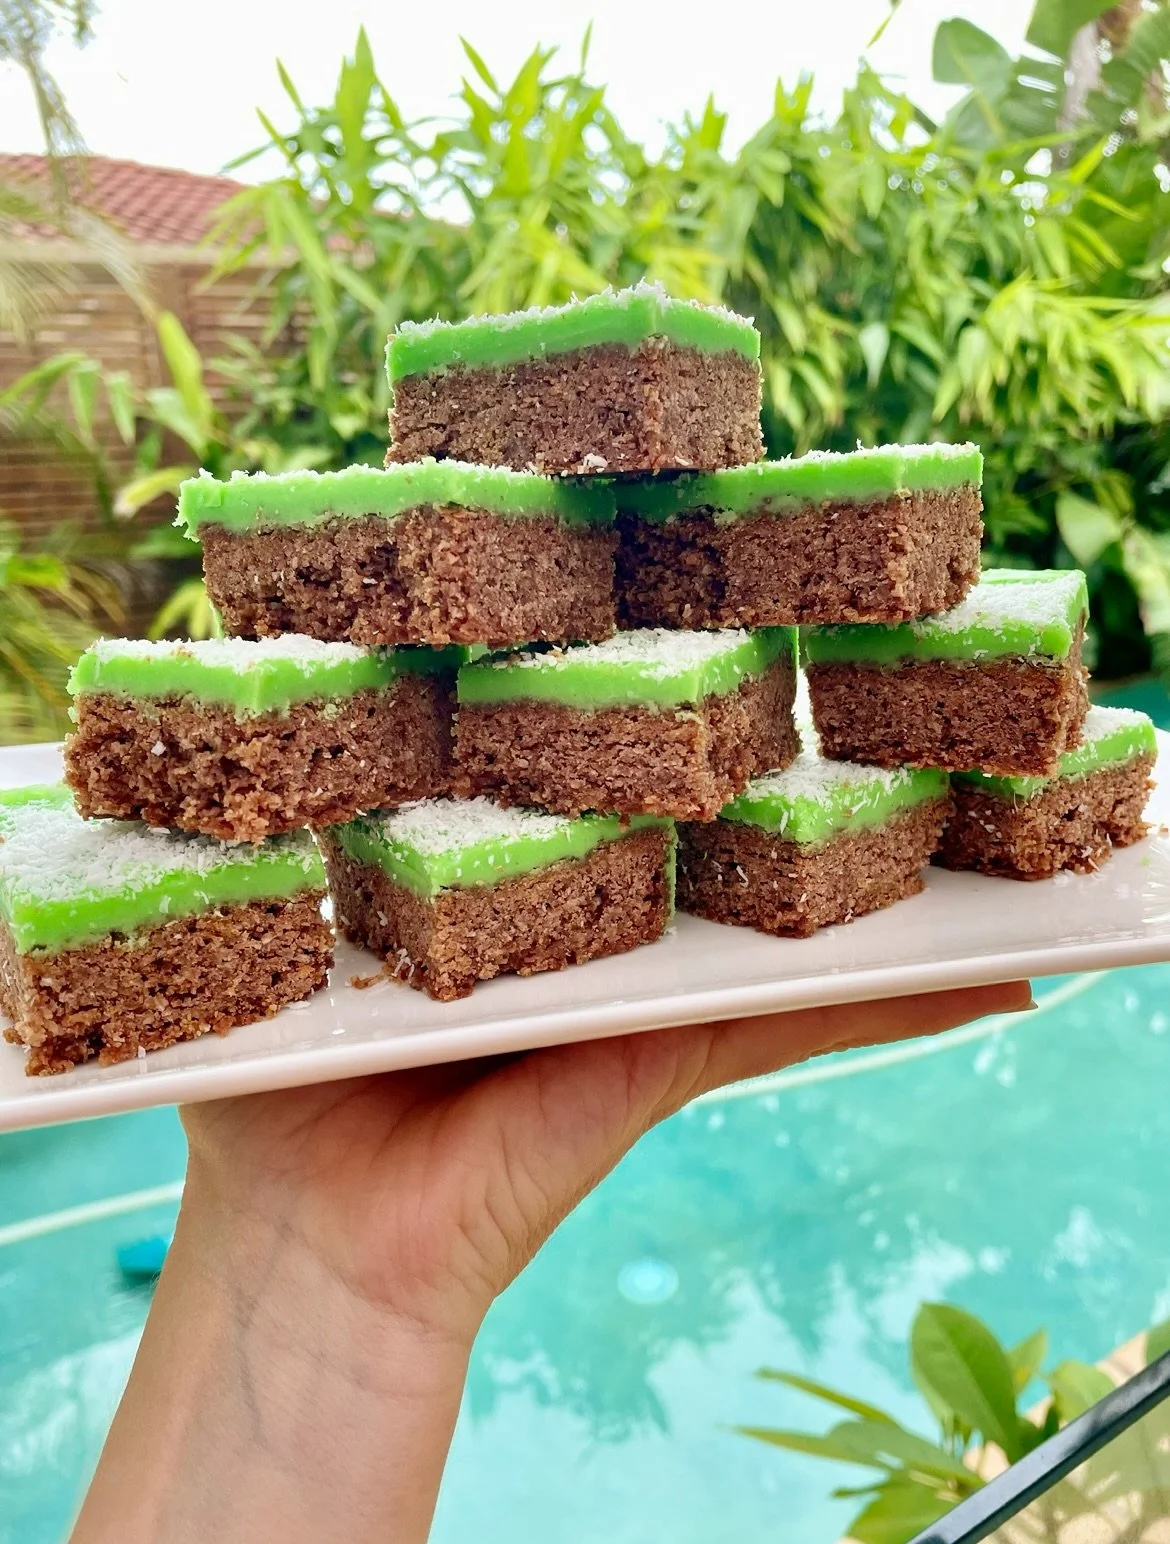
This Peppermint Chocolate Weet-Bix Slice has all the nostalgia of the original. That chocolatey, coconutty base we all know and love. But with a refreshing peppermint twist that makes it feel a little bit special. It’s simple, quick and the perfect recipe for beginner bakers or a fun weekend bake with the kids.
The best part? You only need a handful of pantry staples to make something that looks (and tastes!) amazing. The smooth peppermint icing gives this slice its signature finish – cool, creamy and irresistibly moreish.
As a busy mum who loves showing that home baking doesn’t need to be complicated, this is the kind of recipe I come back to time and time again. It’s easy, comforting and always disappears fast! Whether you’re packing it in lunchboxes, serving it for afternoon tea or making it for a family get-together, it’s guaranteed to bring smiles all round.
Warning: It’s so moorish, stopping at just one piece is nearly impossible! 😉


Peppermint Chocolate Weet-Bix Slice
If you love a good Weet-Bix slice, wait until you try this choc mint version! With a rich, fudgy chocolate-coconut base and a smooth, peppermint-infused topping, this slice is an absolute must-make. It’s easy, delicious, and perfect for lunchboxes, afternoon tea, or whenever you need a sweet treat!
Ingredients
- 4 Weet-Bix
- 1 cup self-raising flour
- 1 cup coconut
- ½ cup caster sugar
- 1 tablespoon cocoa
- 250g butter
- 1 teaspoon vanilla
- 1 teaspoon peppermint essence
- 2 cups icing mixture
- ¼ cup cocoa
- 30g butter, melted
- Boiling hot water
- 1 teaspoon peppermint essence
- A few drops of green food colouring
Instructions
- Preheat your oven to 160ºC fan-forced. Line a slice tray with baking paper.
- In a large bowl, crush the Weet-Bix with your hands, then add the flour, coconut, caster sugar, and cocoa. Stir to combine.
- Melt the butter, then add it to the dry ingredients along with the vanilla and peppermint essence. Mix well until all ingredients are evenly combined.
- Press the mixture firmly into the lined slice tray, using the back of a spoon or the base of a glass to create a smooth, even surface.
- Bake for 20-25 minutes, or until the slice feels firm to the touch. Set aside to cool completely before icing.
- Sift the icing mixture into a bowl.
- Add the melted butter and stir to combine.
- Gradually add boiling water, a little at a time, stirring until you reach a smooth, spreadable consistency. Be careful not to make it too runny.
- Mix in the peppermint essence and add green food colouring, one drop at a time, until you reach your desired shade.
- Spread the icing evenly over the cooled slice. Leave plain or decorate with sprinkles, coconut, or your favourite topping.
- Allow the icing to set in the fridge before slicing into squares. Enjoy!
Notes
- If your icing is too runny, stir in a little extra sifted icing sugar until it thickens to a smooth, spreadable consistency.
- You can ice the slice while it’s still warm, or wait until it has completely cooled before adding the icing—both work well!
- For cleaner slices, place the iced slice in the fridge for a few hours before cutting. This helps the icing set and makes slicing easier.
Nutrition Facts
Calories
295Fat
21 gSat. Fat
11 gCarbs
31 gFiber
1 gNet carbs
29 gSugar
18 gProtein
2 gSodium
167 mgCholesterol
38 mgThe nutritional information provided is computer generated and is only an estimate. This data is provided as a courtesy for informational purposes only.

