
What I Wish I Knew Before I Started My Sourdough Journey
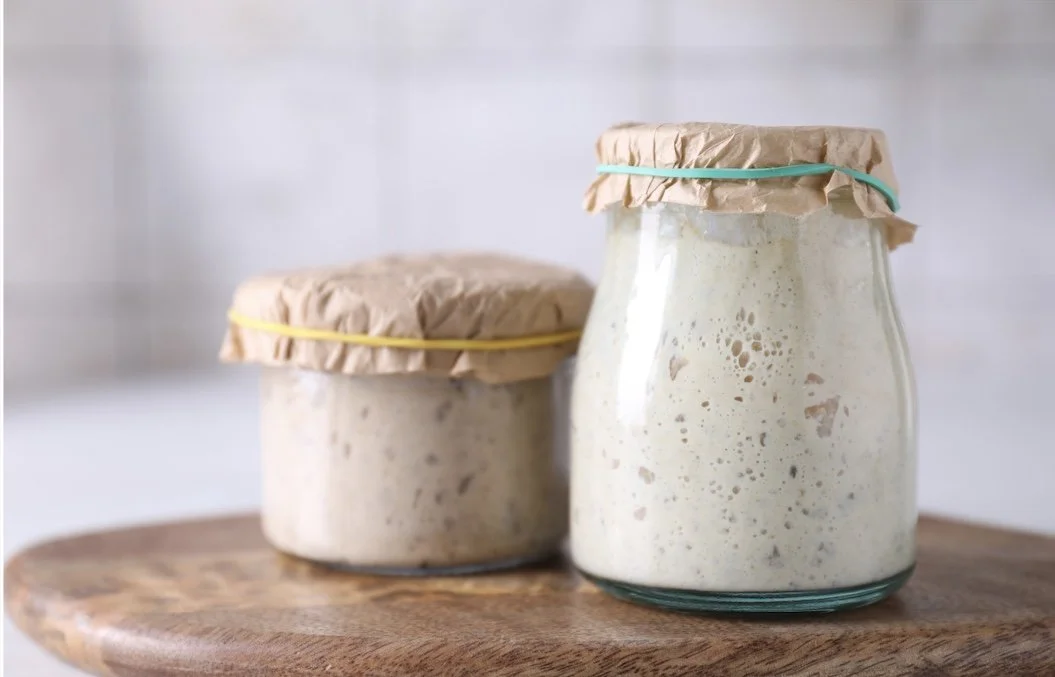
Jar of sourdough starter
My Sourdough Journey (So Far!)
I’ve been secretly nurturing a sourdough starter for the past few weeks and I’m officially hooked! In this post, I’m sharing everything I’ve learnt so far. What worked, what didn’t and the little tricks that made all the difference.
Why I Love Sourdough
There’s something so magical about sourdough. The slow rhythm, the way a simple mixture of flour and water can come to life and the satisfaction of creating something from scratch.
I’ve been on my sourdough journey for a few weeks now and I thought I’d share what I’ve learnt so far. If you’ve been thinking about starting, let this be your encouragement. It’s a little science experiment happening right on your kitchen bench and such a rewarding process once you see those first bubbles appear.
A Little Encouragement For Beginners
If you’ve been curious about starting sourdough, I hope this post gives you the confidence to give it a try. Think of it as a little science experiment happening right on your kitchen bench and the reward is seeing those first bubbles appear. Knowing you created that from nothing!
Getting Started
To start your own sourdough starter, you really don’t need much:
1 sterilised jar
Tipo “00” baker’s flour (or any good quality bread flour)
Filtered water (or boiled water cooled to room temperature)
Most guides will tell you to feed your starter at a 1:1 ratio – equal parts starter, flour and water. I started with 50g of flour and 50g of water each day.
On Day 3, I began discarding half of my starter and feeding it fresh flour and water. This helps keep your starter strong, bubbly and not overflowing out of the jar!
My Experiment
Being me, I turned this into a little science experiment and kept two jars going to compare the results.
Jar 1 was fed 50g flour + 50g water (classic 1:1 feed).
Jar 2 was fed ½ cup flour + ¼ cup water – a thicker, paste-like starter.
At first, I thought Jar 2 was a 2:1 feed, but I later discovered it was still roughly 1:1 by weight (around 70g each). I loved waking up each morning to see new bubbles forming on the sides of both jars - such a good sign! Eventually, I combined both starters into one jar and gave it a good feed to combine.
The next day, I decided to try a proper 1:1:1 ratio. Into a clean jar went 50g discard, 50g flour and 50g water. The following morning, I woke up to success – my starter had doubled in size and was beautifully bubbly.
The Magic Moment
You know your starter is truly happy when it doubles in size overnight and is alive with bubbles. Before baking bread, you have to do the float test: drop a spoonful of starter into a glass of water. If it floats, you’re ready to bake!
That moment feels like such a win! A sign that all your care and feeding have paid off.
Keeping Your Starter Happy
If there’s one takeaway from my experience, it’s this: sourdough doesn’t like the cold! In winter, my kitchen can be chilly, so I had to get creative:
I warm my water for 10 seconds in the microwave before feeding.
I keep my jar on a wooden surface (warmer than stone benches).
I cover the jar with a piece of fabric, muslin or cheesecloth so good bacteria can get in and help with fermentation.
Sometimes I wrap the jar in a tea towel to keep it warm and cosy.
If you have central heating, place the jar near the vent for some extra warmth.
Some people leave their starter in the oven with just the light on, but I wasn’t keen to do this every day. I prefer my little bench-top routine.
The Discard
In the beginning, I was discarding half my starter every day and keeping it in a jar on the bench, which I soon learned is not ideal. I had to throw the whole lot away, which felt so wasteful!
Now I keep my discard in the fridge and use it for baking. So far, I’ve made:
🍪 Chocolate chip cookies – delicious!
🍫 Brownies – rich and fudgy.
🥞 Pancakes – light and airy.
🍕 Pizza dough – good, but I’m still tweaking this one. I’m dreaming of that thin, bubbly, woodfired-style crust – I’ll get there!
What’s Next
Now that my starter is strong and healthy, it’s time for the next step – baking my very first loaf of sourdough bread. I can’t wait to see how it turns out and of course, I’ll share the result with you here.
If you’ve been thinking about starting your own sourdough journey, I hope this gives you the nudge to give it a go. It’s not as scary as it seems. Just a little flour, water, patience and a willingness to learn as you go (plus a whole lot of sourdough love!).
Stay tuned… the next chapter is all about stretching, folding, shaping and finally pulling that first crusty loaf out of the oven.
If you’ve been curious about starting sourdough, I hope this post gives you the confidence to give it a try. Grab a jar and start your own starter this weekend!