
How to Start a Sourdough Starter at Home: Step-by-Step Guide for Beginners
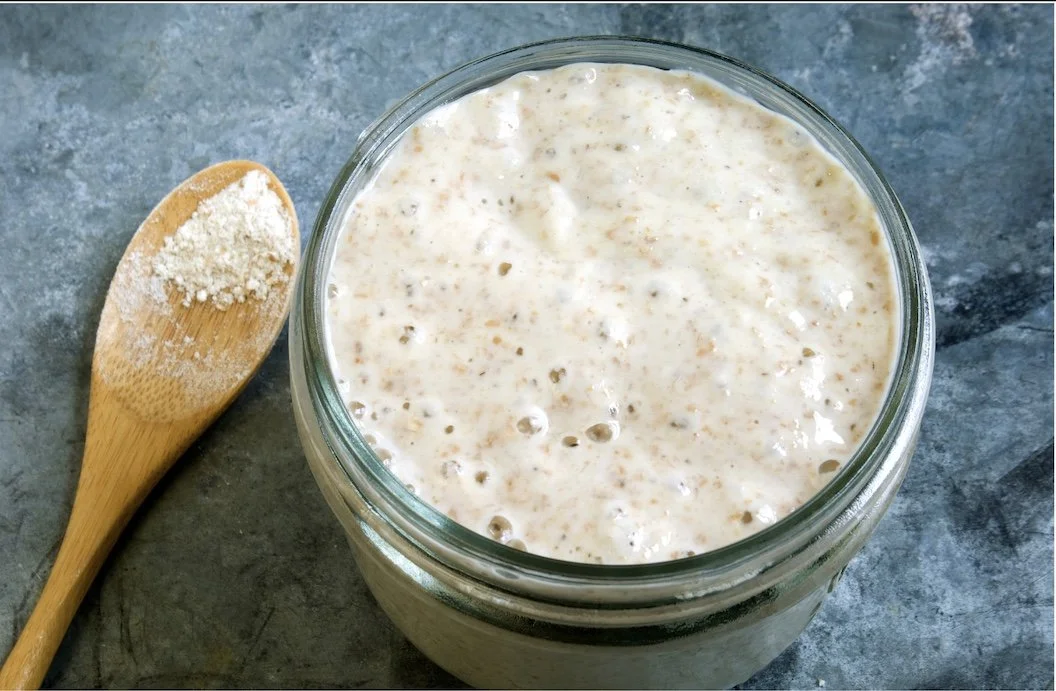
Jar of sourdough starter
This plan will take you from Day 1 to a strong, bubbly starter that passes the float test and is ready for baking.
What You’ll Need
Clean, sterilised jar (500ml–1L capacity, wide-mouthed is best)
Digital kitchen scales
50g baker’s flour (Tipo 00) – or plain/bread flour if that’s what you have
50g filtered or cooled boiled water
Spoon or spatula
2 rubber bands
Muslin, cheesecloth or clean breathable fabric
Day 1
In your sterilised jar, mix 50g flour + 50g water until smooth.
Scrape down the sides, cover with a square of muslin/cloth and secure with a rubber band.This allows airflow so the good bacteria can get in while keeping unwanted bacteria out.
Place the second rubber band around the jar at the starter level so you can track its growth.
Leave on the bench at room temperature (ideally 22–26°C).
Day 2
Check for bubbles or a slight smell (it’s okay if there’s no activity yet).
Do not feed today – just observe and let the natural fermentation begin.
Days 3–5
Discard half of the starter each day.
Feed with 50g flour + 50g water once daily and stir well.
By Day 3 or 4, you should see some bubbles, smell a little sourness and notice slight rising.
If your kitchen is cooler, activity may take a few extra days, that’s normal.
Day 6 Onwards – Twice-Daily Feeds
Once your starter is rising and falling predictably after each feed (usually Day 5 or 6):
Begin feeding twice per day (roughly 12 hours apart).
Each feed:
Keep about 50g of starter.
Add 50g flour + 50g water and stir until smooth.
Transfer to a clean jar if needed to keep things tidy.
Your starter should now double or triple in size between feedings and smell pleasantly tangy.
The Float Test (Usually Day 7–10)
Once your starter doubles reliably within 4–6 hours of feeding:
Take a spoonful of starter and drop it gently into a glass of water.
If it floats – it’s ready to bake bread!
If it sinks, keep feeding twice daily and try again the next day.
When You Can Start Using the Discard
Once your starter is bubbling away and has a light, tangy smell (this usually happens around Day 3 or 4 – though I like to wait until after Day 5), you can start using the discard in fun recipes that don’t rely on it for rise.
This is where sourdough gets fun! Your discard adds flavour, a subtle tang and even health benefits — sourdough is often easier to digest.
Try it in:
Breakfast favourites: pancakes, waffles, crepes
Easy bakes: brownies, muffins, cookies, cakes
Flatbreads: pizza bases, focaccia, crumpets
Bread rolls & crackers: for flavour (still use yeast or baking powder for rise)
⚠️ Avoid using early discard for sourdough bread loaves – wait until your starter passes the float test.
Tips for Success
Here are my best tricks to keep your starter happy and thriving:
Keep it warm: If your kitchen is cool, wrap the jar in a tea towel or place it in a warm spot (wooden bench or switched-off oven with the light on).
Feed consistently: Try to feed around the same times each day. Your starter thrives on routine.
Use a clear jar: This makes it easy to see bubbles forming and track growth.
Don’t worry about perfection: Starters are forgiving. If you miss a feed, just pick up where you left off.
Smell is your guide: A healthy starter smells yeasty and pleasantly sour, never rotten or mouldy.
Name your starter: It might sound silly, but it makes feeding it feel like less of a chore!
Switch up the flour: Once established, try feeding with a bit of wholemeal or rye flour occasionally - it can boost activity and flavour.