Chocolate Weet-Bix Slice
Chocolate Weet-Bix Slice is one of those recipes that feels like home. If you grew up in Australia, there's a good chance you've enjoyed a piece at a school fete, family gathering or straight from Mum's kitchen.
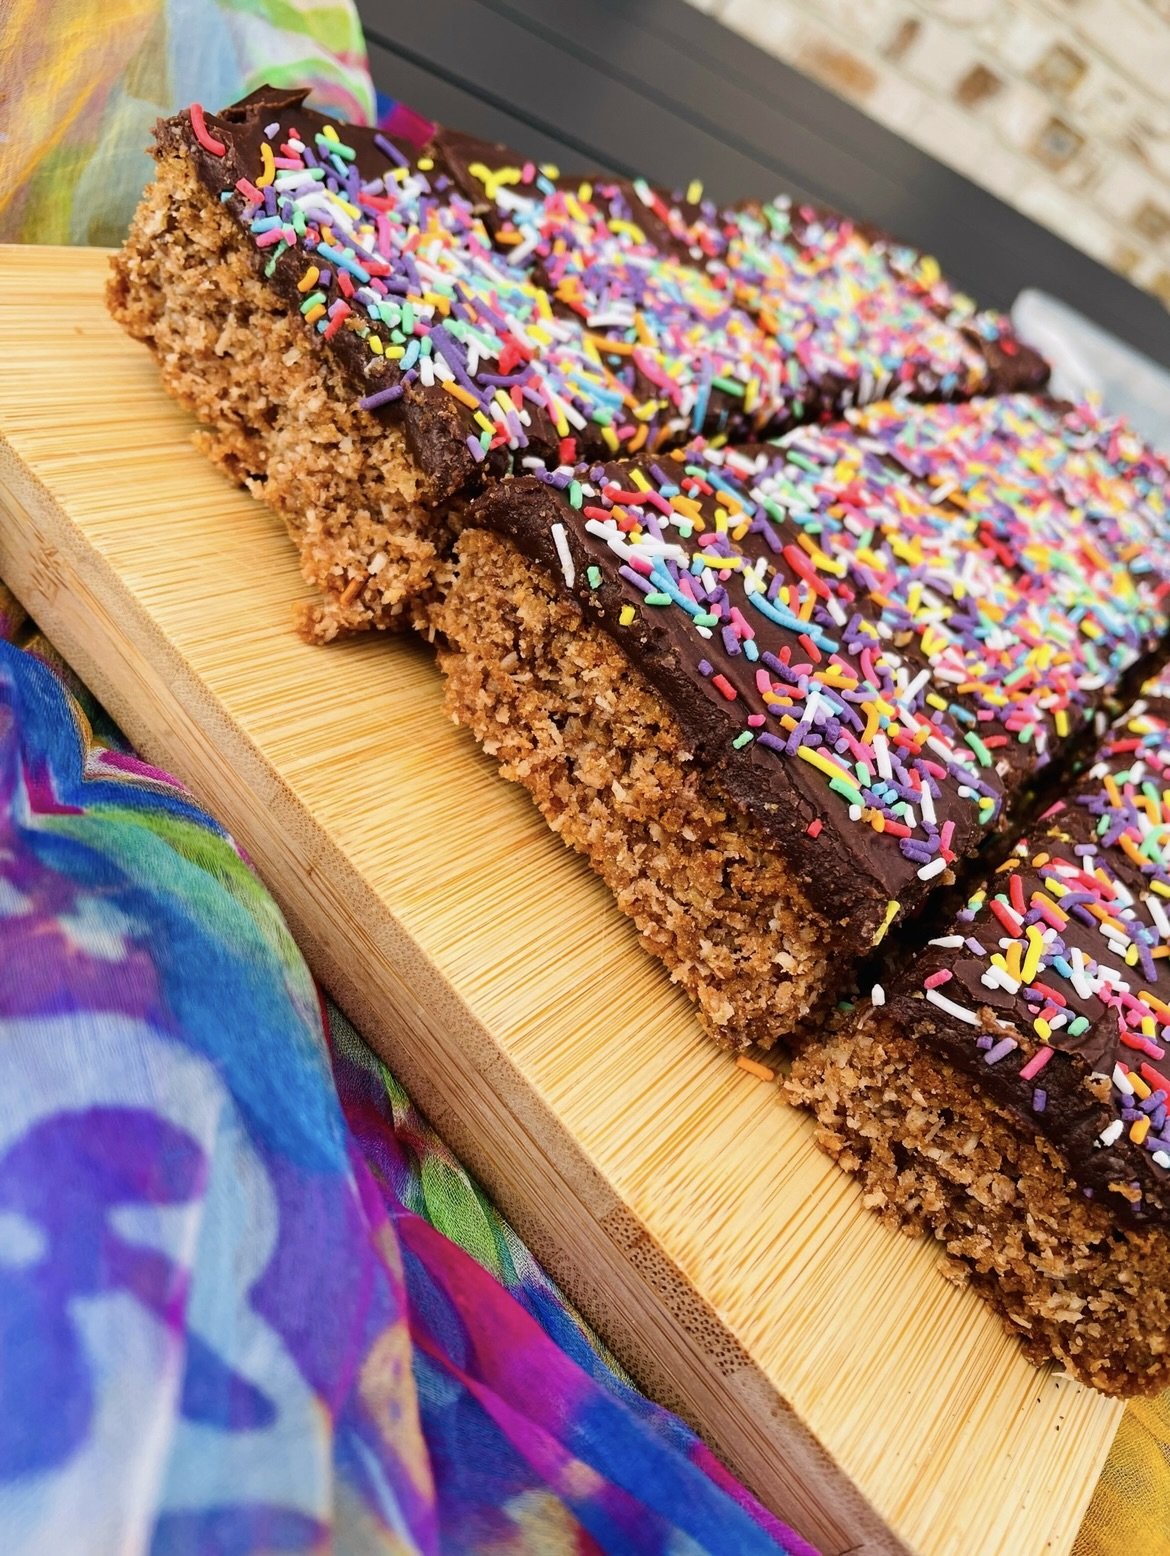
Weet-Bix have long been a pantry staple in Aussie homes and this recipe is one of my favourite ways to turn them into something a little more special. Made with crushed Weet-Bix, coconut and cocoa, the slice bakes into a deliciously chewy base before being topped with a beautiful rich chocolate icing.
What I love most about this recipe is its simplicity. No fancy ingredients. No complicated steps. Just a handful of everyday pantry staples transformed into a slice that everyone loves. It's quick to make, budget-friendly and perfect for getting the kids involved too. They love helping crush the Weet-Bix and spread the icing over the top.
I always seem to have a few leftover Weet-Bix sitting in the pantry and this is one of my favourite ways to use them up. Better still, it freezes beautifully, making it perfect for keeping a stash of homemade treats on hand for busy weeks.
If you're a fan of nostalgic Australian baking, be sure to try my Mars Bar Slice as well. It's another old-fashioned favourite that never lasts long in our house.
Whether you're baking for lunchboxes, morning tea or simply because you're craving a classic homemade treat, this Chocolate Weet-Bix Slice is one recipe worth keeping in your collection.
More Slice Recipes You'll Love


Why You'll Love This Recipe
❤️ It Uses Pantry Staples
No special ingredients needed. Chances are you already have everything sitting in your pantry.
❤️ Perfect For Lunchboxes
This slice holds together beautifully and packs well for school or work lunches.
❤️ Budget-Friendly Baking
A great way to make a generous batch of treats without spending a fortune.
❤️ Freezer Friendly
Freeze individual pieces and pull one out whenever you need a quick sweet treat.
❤️ A Guaranteed Crowd Pleaser
Chocolate, coconut and icing are a combination that's hard to resist.
FAQ
Can I freeze Weet-Bix Chocolate Slice?
Absolutely. Once fully set, cut into portions and freeze in an airtight container for up to 3 months.
Can I make this ahead of time?
Yes. In fact, it's even better the next day once the icing has fully set and the flavours have developed.
Can I use regular sugar instead of caster sugar?
Yes. Regular white sugar works perfectly in this recipe.
How to Store Weet-Bix Chocolate Slice
Store in an airtight container in the fridge for up to 1 week.
Freeze for up to 3 months.
Separate layers with baking paper to prevent sticking.

Chocolate Weet-Bix Slice
Ingredients
- 4 Weet-Bix
- 1 cup self-raising flour
- 1 cup coconut
- ½ cup caster sugar
- 1 tablespoon cocoa
- 250g butter
- 1 teaspoon vanilla
- 2 cups icing mixture
- ¼ cup cocoa
- 30g butter, melted
- 1 teaspoon vanilla
- Boiling hot water
Instructions
- Preheat the oven 160ºC. Line a 27x17cm slice tray with baking paper.
- Measure all the dry ingredients into a bowl and whisk to combine
- Stir the butter and vanilla together in a small bowl and add to the dry ingredients, stir until all ingredients are moist and well combined.
- Pour mixture into the lined slice tray and spread out. Flatten with the back of a spoon to ensure the slice has a smooth top.
- Bake in the oven for 20-30 minutes. Prepare the icing while you are waiting for the slice to cool.
- Sift the icing mixture and cocoa together into a bowl
- Add melted butter and vanilla and stir.
- Slowly add hot water 1 tablespoon at a time until desired thickness is achieved. Your icing should have a smooth consistency without being runny.
- Spread over the slice. You can leave the icing plain or you can add sprinkles, coconut or any other topping you wish.
Notes
- If the icing is too runny, add more sifted icing mixture.
- If the icing is too thick, slowly add a little extra hot water until the desired thickness is achieved. You want a thick consistency.
- Icing can be spread over the slice while the slice is warm or cool.
- Allow the slice to cool before you slice into serving pieces.
- You may even wish to leave the slice to chill in the fridge for a few hours or overnight before slicing.